 Essential
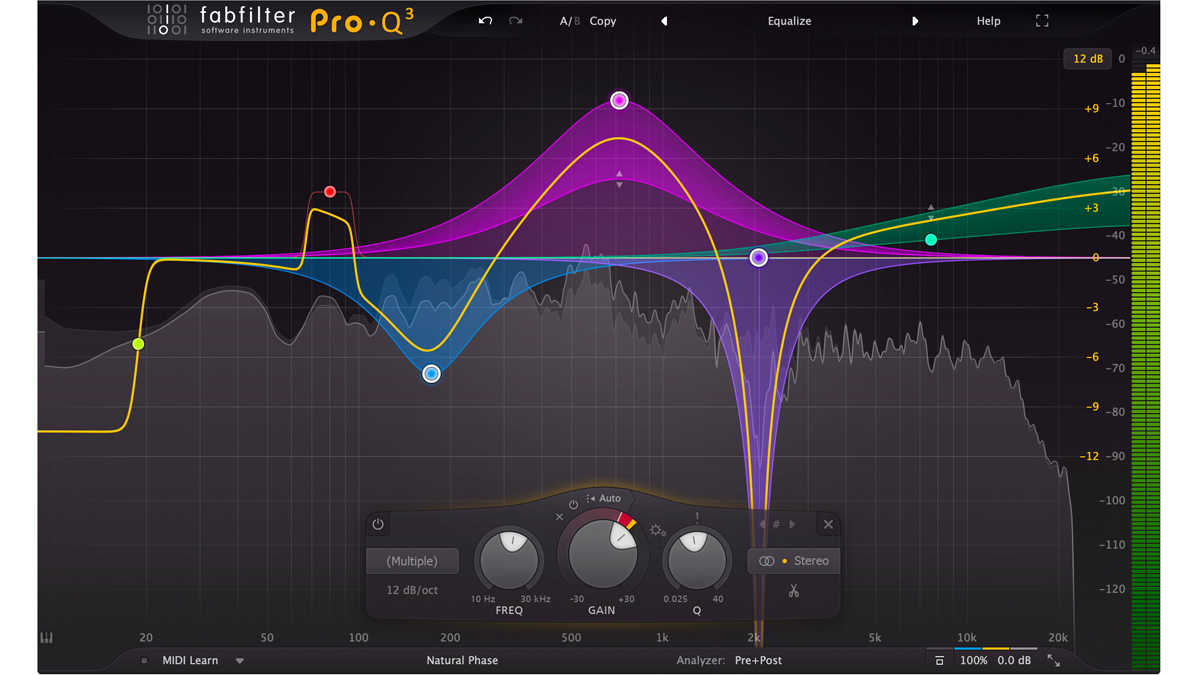
1) EQ (Equalizer)
EQ helps you cut unwanted frequencies and boost what matters. It’s the #1 tool for clarity and separation.
- Remove mud (low-mids)
- Reduce harshness (high-mids)
- Create space between vocals and instruments
Audio plugins are tools that shape your sound — from cleaning vocals to making drums punchy, adding space with reverb, or creating movement effects. This guide explains the main plugin types and a simple workflow you can follow in any DAW.

Audio plugins are software effects or instruments that run inside your DAW (like FL Studio, Ableton, Logic, etc.). They help you shape tone, control volume dynamics, add space, and create creative effects. Think of them as your digital studio gear.
Below are the most important plugin categories used in almost every song. Start with these and you’ll cover 80% of mixing needs.
Essential
EQ helps you cut unwanted frequencies and boost what matters. It’s the #1 tool for clarity and separation.
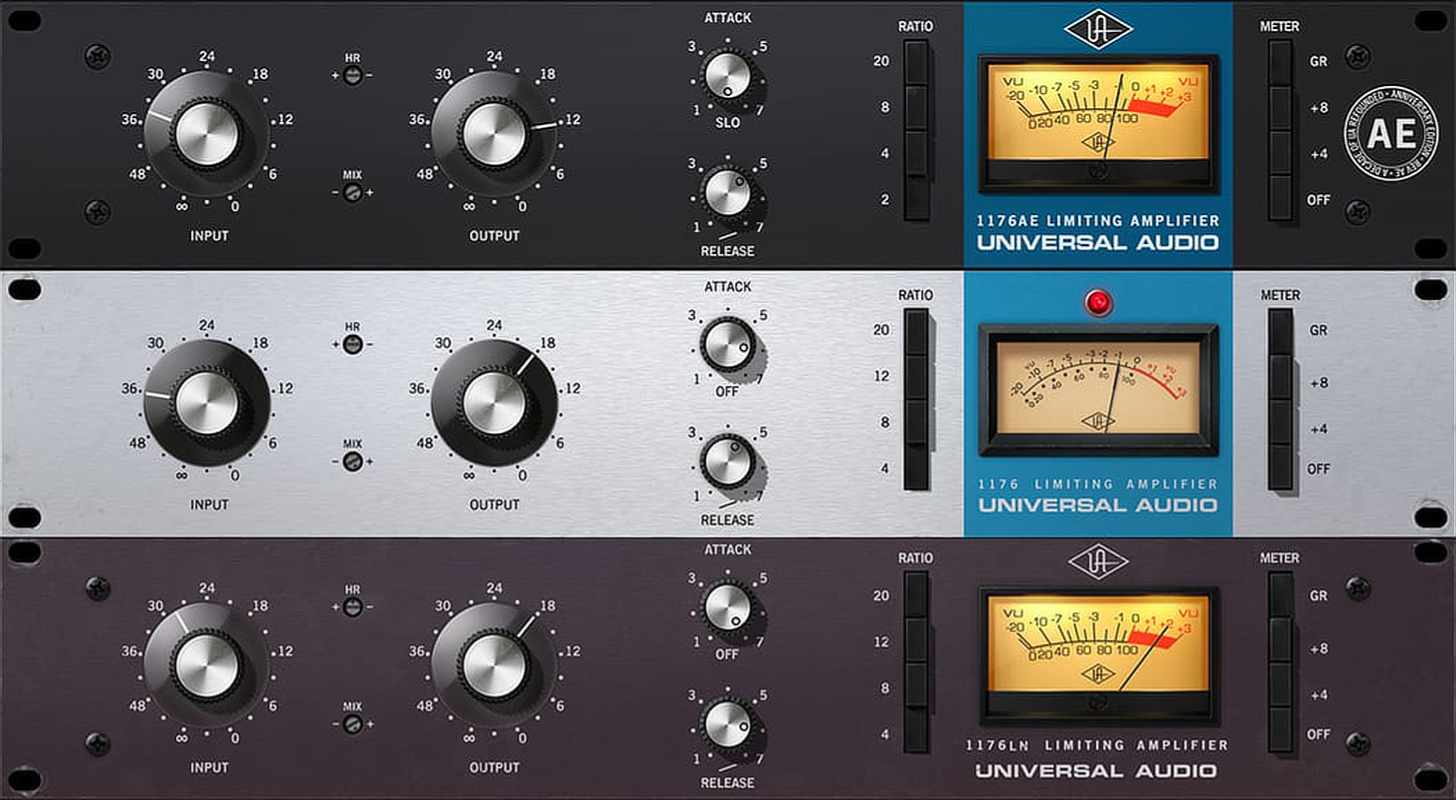 Dynamics
Compression controls loud and quiet parts so your track feels stable. Great for vocals, drums, and “glue”.
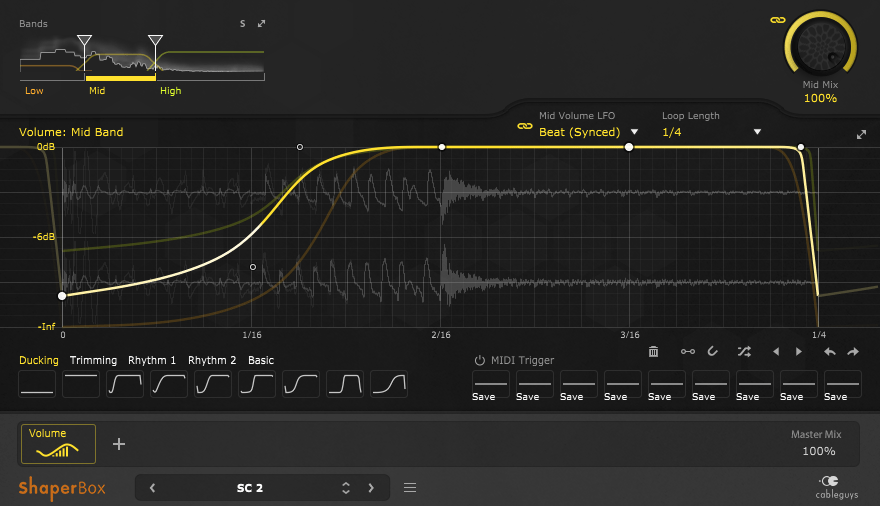 Sidechain
A volume shaper ducks sound using drawn curves. It’s popular because it’s clean, consistent, and fast.
 Space
Space
Reverb adds room/hall feel and depth. Use it smartly on sends to keep your mix clean.
 Rhythm
Delay repeats sound and adds rhythm texture. It can make vocals wider and fills feel more exciting.
 Color
Color
Adds harmonics and energy. Great for bass presence, drum bite, and making sounds feel “bigger”.
Use this order as a safe starting point. You can adjust based on your track, but this workflow stays clean.
If you want us to cover a specific plugin or DAW setup, email: bloginga@gmail.com